
In today’s digital age, capturing memories with your camera is just the first step. Learning how to upload digital camera photos to computer is essential for editing, sharing, and preserving your precious images. Whether you’re a professional photographer or a casual hobbyist, transferring your photos efficiently can save you time and frustration. This comprehensive guide will walk you through multiple methods to seamlessly transfer your images from camera to computer.
Understanding Your Camera’s Connection Options
Before you begin the transfer process, it’s important to understand the various connection methods available for your digital camera. Most modern cameras offer multiple ways to transfer photos, including USB cables, memory card readers, and wireless connectivity. Each method has its advantages, and knowing which one works best for your situation will make the process smoother.
Method 1: Using a USB Cable
The most straightforward way to upload digital camera photos to computer is through a direct USB connection. This method is universally compatible and doesn’t require any additional equipment beyond the cable that typically comes with your camera.
Step-by-Step Instructions:
First, locate the USB cable that came with your digital camera. One end will connect to your camera, while the other plugs into your computer’s USB port. Turn on your camera and set it to playback or transfer mode—check your camera’s manual if you’re unsure which setting to use.
Once connected, your computer should recognize the camera as an external device. On Windows, a notification will appear asking what you’d like to do with the device. You can choose to import photos using the Photos app, File Explorer, or any photo management software you prefer. Mac users will see the Photos app automatically launch, or you can access the camera through Image Capture.
Navigate through the camera’s folders to find your images, typically stored in a DCIM folder. Select the photos you want to transfer, or choose “Select All” if you want to import everything. Create a destination folder on your computer where you’d like to save the images, then drag and drop or click “Import” to begin the transfer.
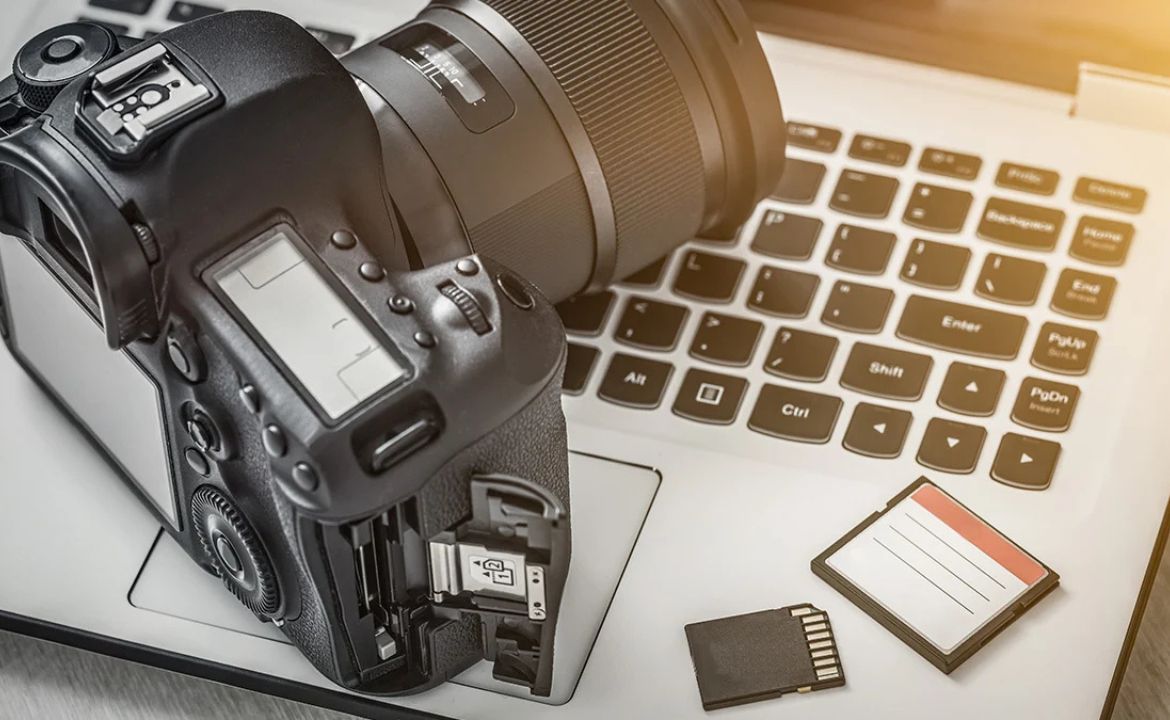
Method 2: Using a Memory Card Reader
Many photographers prefer using a memory card reader because it’s often faster and doesn’t drain your camera’s battery during transfer. This is particularly useful when you need to upload digital camera photos to computer frequently.
Getting Started with Card Readers:
Remove the memory card from your camera—usually an SD card, CompactFlash, or microSD card. Insert it into your card reader, which can be built into your computer or connected via USB. Most modern laptops have built-in SD card slots, making this method incredibly convenient.
Once inserted, your computer will recognize the memory card as a removable drive. Open File Explorer on Windows or Finder on Mac, and locate the new drive. Navigate to the DCIM folder where your photos are stored. You can then copy and paste the images to your desired location on your computer’s hard drive.
Card readers offer the advantage of speed, especially with newer UHS-II or USB 3.0 compatible readers. They also allow you to keep shooting with a spare memory card while transferring photos from another.
Method 3: Wireless Transfer Methods
Modern cameras increasingly feature built-in Wi-Fi or Bluetooth connectivity, offering wireless options for photo transfers. While this method may be slower than wired connections, it provides unmatched convenience.
Setting Up Wireless Transfer:
Check if your camera has Wi-Fi capabilities and download the manufacturer’s companion app on your computer or smartphone. Canon, Nikon, Sony, and Fujifilm all offer proprietary software for wireless transfers. Follow the app’s instructions to pair your camera with your computer over your local Wi-Fi network.
Once connected, you can select photos directly from your camera and transfer them wirelessly. Some cameras also support FTP upload or can create their own Wi-Fi hotspot for direct computer connection without needing a router.
Method 4: Using Photo Management Software
Professional photographers often rely on specialized software to upload digital camera photos to computer while simultaneously organizing and editing them. Programs like Adobe Lightroom, Capture One, or the built-in Photos apps offer robust importing features.
These applications can automatically organize photos by date, apply metadata, create backups, and even start editing workflows immediately upon import. When you connect your camera or insert a memory card, the software detects it and presents import options. You can preview images, select specific files, rename them in batch, and apply initial edits or presets during the import process.
Best Practices for Photo Transfer
To ensure smooth transfers and protect your images, follow these important guidelines:
Always wait for the transfer to complete before disconnecting your camera or removing the memory card. Interrupting the process can corrupt files or damage the memory card. Create a consistent folder structure on your computer for organizing photos by date, event, or project.
Consider importing to multiple locations simultaneously—your computer’s hard drive and an external backup drive. This redundancy protects against data loss. Never format your memory card until you’ve verified all photos transferred successfully and exist in at least two locations.
Keep your camera’s firmware and transfer software updated for optimal compatibility and performance. Manufacturers regularly release updates that improve transfer speeds and fix bugs.
Troubleshooting Common Issues
If your computer doesn’t recognize your camera, try a different USB port or cable. Ensure your camera is powered on and in the correct mode. Check Device Manager on Windows or System Information on Mac to see if the device is detected but not functioning properly—you may need to update drivers.
For slow transfer speeds, consider using a faster memory card reader or upgrading to USB 3.0 connections. Close unnecessary applications during transfer to free up system resources.
Conclusion
Understanding how to upload digital camera photos to computer is a fundamental skill for any photographer. Whether you choose the simplicity of USB cables, the speed of card readers, the convenience of wireless transfer, or the sophistication of professional software, each method offers unique advantages. Experiment with different approaches to find what works best for your workflow, and always prioritize creating backups to protect your valuable memories. With these techniques mastered, you’ll spend less time transferring photos and more time enjoying and sharing your creative work.


Leave a Reply